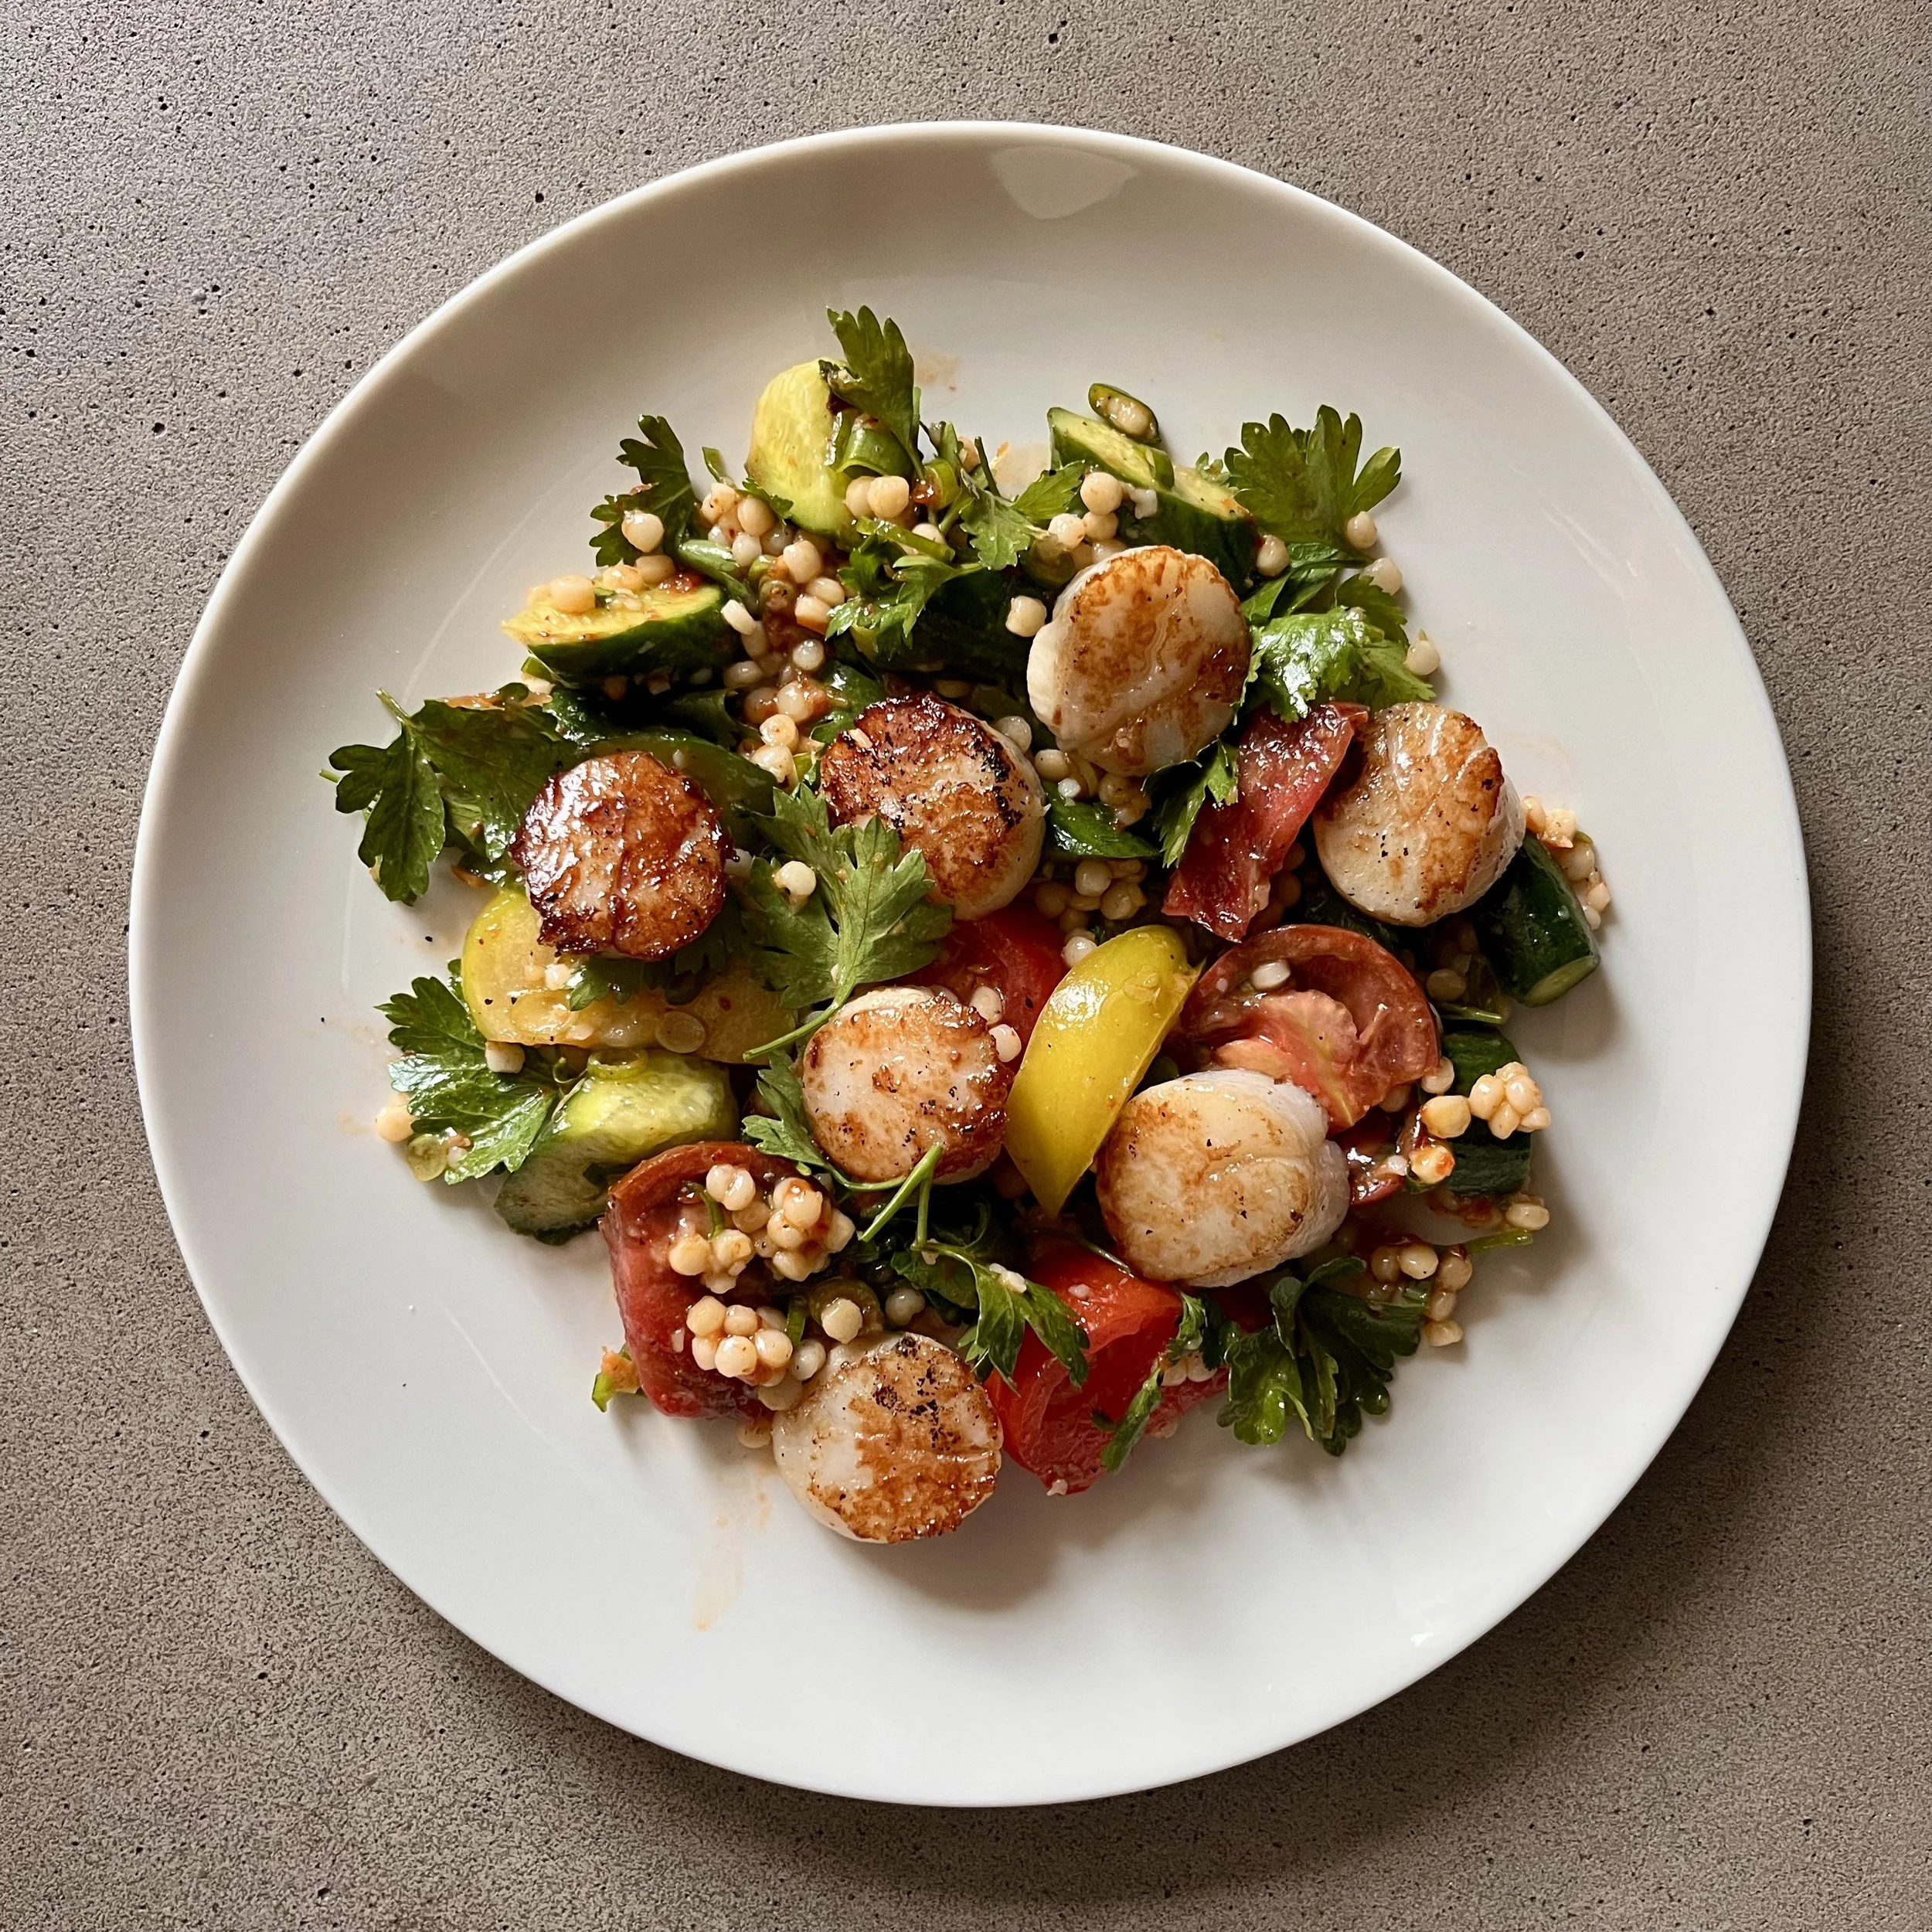
Searing
A full flavor experience is immersive. It’s not just about taste. It’s about engaging all the senses: aroma, visual appeal, and texture. One of the most pleasurable experiences for the palate is the juxtaposition of a toasty crust and a tender interior.
Searing is the brief application of high heat, often enhanced by gentle pressure. This week’s Meal Plans feature seared scallops and seared figs. Either way, a hard sear is a hard sear.
High heat. Raising a food’s surface temperature above 300℉ is essential to trigger a Maillard Reaction, also known as browning. Recall our conversation about umami: the aroma of broken down flavor molecules is an evolutionary alert for easier digestion and increased nutrition.
Low moisture. Moisture is the enemy of browning. Excess moisture prevents the temperature from rising above the boiling point of water. A dry surface is essential. Towels are your friend. Pat your scallops dry. Salt is another factor. It draws moisture to the surface. For scallops (and burgers), salt them just before cooking so there’s no time for osmosis. For steaks (and chops), salt them well in advance (1 hour to 3 days), a wonderful process known as dry-brining.
Fats with high smoke points. Choose a neutral oil with a smoke point above 400℉. Unrefined fats, like extra virgin olive oil or butter, contain compounds that, while delicious, burn easily. Our favorite is rice bran oil. Clarified butter is also a great option you can make at home.
Know your equipment. Optimal searing occurs on the cusp of charred ruin. It’s possible to be too hot. Know the power of your cooktop. Avoid nonstick pans. Use a heavy, well-seasoned cast iron or carbon steel skillet that retains and distributes heat evenly. Avoid excess oil: it will splatter. If your fat begins to pool, carefully pour some out. If it smokes excessively, remove the pan from the heat, wipe it out, and start again. Burned oil imparts an acrid flavor.
Heat the oil until it just begins to smoke. Add your scallops. Press down gently with a spatula to ensure that the entire surface touches the pan (the muscle fibers contract and puff up with the heat). Turn down the heat to medium-high. Then, don’t touch them until you’re ready to flip!
We’re glad you’re cooking with us.
Cheers,
Sten and Mac
KITCHEN TIP
Arrange the pan in clockwise fashion. Or counter clockwise. Either way, the circular order will help you remember which scallop (or burger, steak, or chicken thigh) needs to be flipped first.
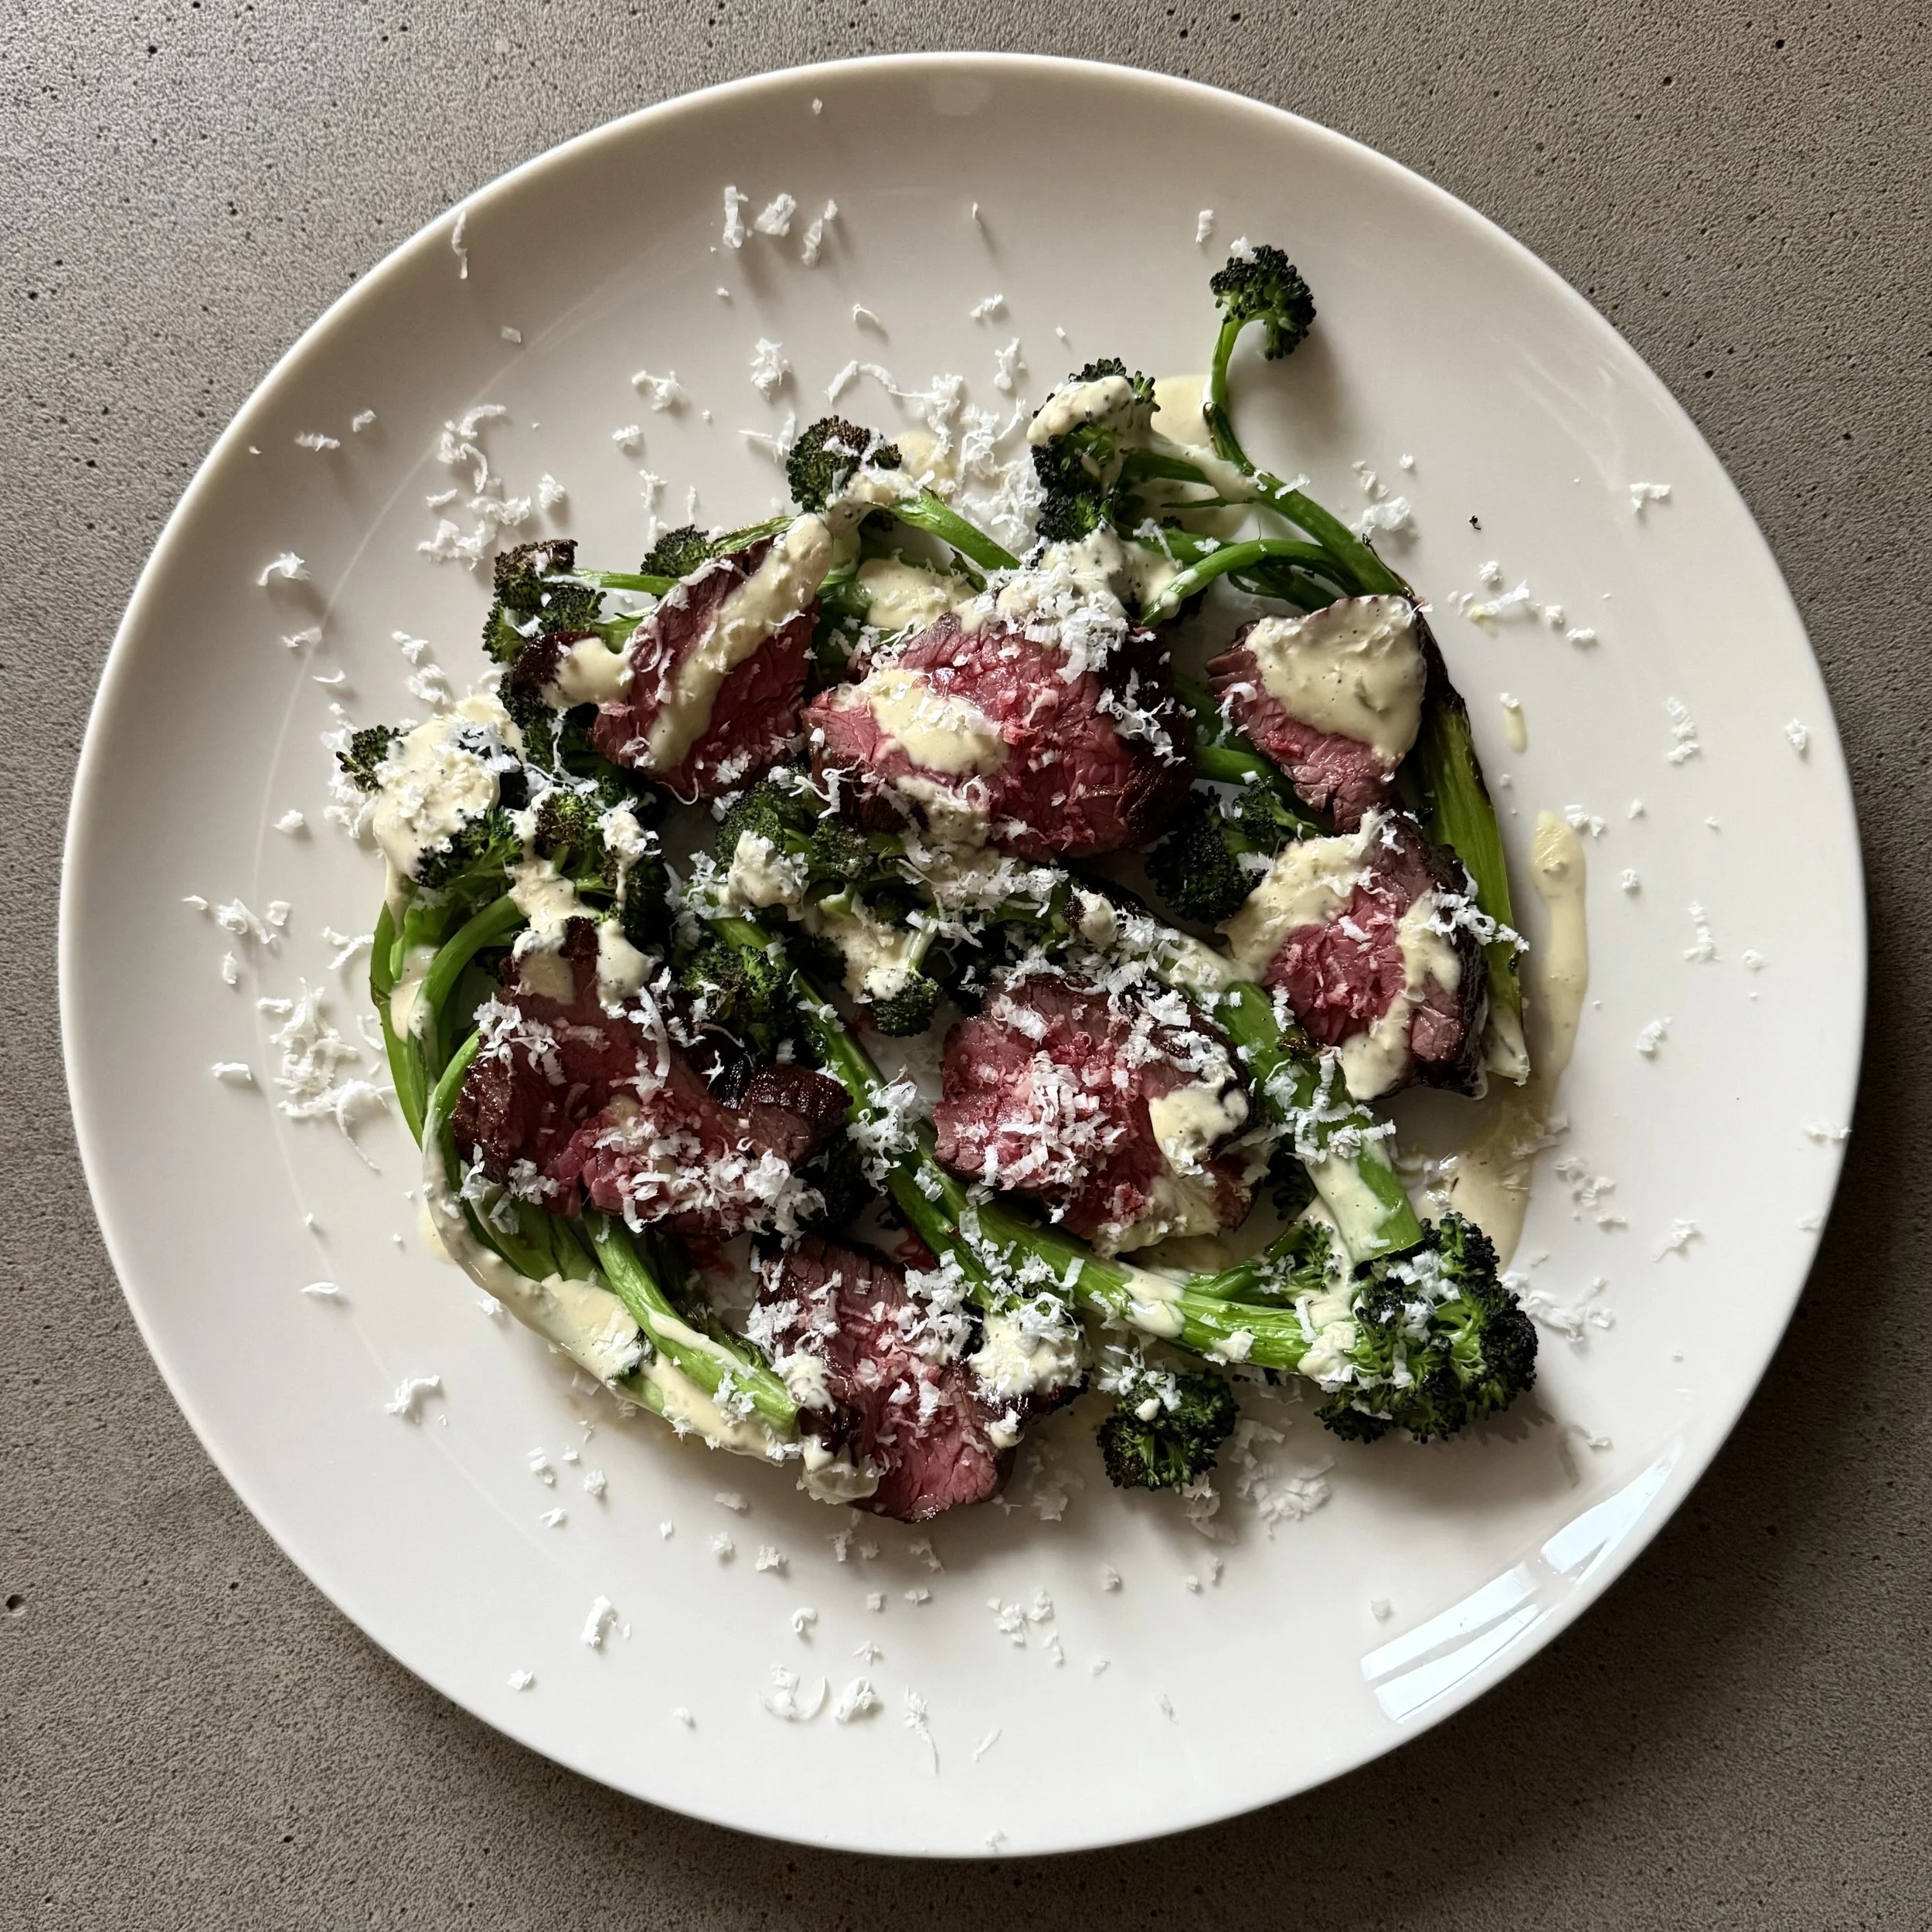
RELATED RECIPES